Controller Stick Drift: Should You Repair or Replace It?
A practical guide — what to try first, when to give up, and which controllers are physically immune to drift.
Step 1 — Try the quick fixes first
Before spending money, these steps fix a surprising number of drift cases. Work through them in order and re-test after each one.
This is the most common fix. Dust, skin oil, and debris build up around the stick base and interfere with the potentiometer. Apply a small amount of contact cleaner (WD-40 Specialist or similar) to the base of the stick, rotate it in full circles 20–30 times, and let it dry. Do not use regular WD-40 — it leaves residue.
On Windows: search "Set up USB game controllers" in the Start menu, select your controller, click Properties → Settings → Calibrate. On PS5/Xbox: the console has a built-in deadzone setting in Accessibility options. Calibration helps if the drift started recently or after a firmware update.
Most games let you set a deadzone — the range around centre that the game ignores. This doesn't fix the underlying problem but can mask minor drift entirely while you decide what to do. In competitive games this has a small trade-off in precision, but for casual play it works fine.
Xbox: connect via USB and use the Xbox Accessories app. PS5 DualSense: update via System Settings → Accessories. Some drift cases were introduced by firmware bugs and later fixed in patches.
Run the test again. The drift heatmap will show whether the centre offset has reduced. If you're now in the green or yellow zone, the clean worked. If still red, move to the next section.
A good contact cleaner spray and cotton swabs is all you need for a stick clean. Look for products specifically labelled "contact cleaner" or "electronics cleaner" — safe for plastic and rubber.
Step 2 — When repair stops being worth it
Cleaning helps, but some controllers are past the point of no return. Here are the signs:
- Drift started recently (last few months)
- Drift is minor — only shows in the yellow zone on the tester
- Only one stick is affected
- You haven't tried a contact cleaner clean yet
- Controller is less than 2 years old
- You're comfortable with a screwdriver (for module replacement)
- You've already cleaned it twice and drift came back
- Drift is severe — solid red on the tester
- Both sticks are drifting
- Controller is 3+ years old with heavy use
- Buttons are also becoming unreliable
- Repair kits cost more than a budget replacement
Stick modules can also be replaced (soldering required), but at that point the time cost usually outweighs buying a mid-range replacement — especially since replacement controllers with hall effect sticks now start around £30.
What is a Hall Effect controller — and why can't it drift?
If you're replacing your controller, this is worth understanding before you buy.
Traditional controllers use potentiometers — two pieces of metal that rub against each other to detect stick position. Over time, that contact surface wears down or gets contaminated. That wear is what causes drift. It's a physical process, not a software bug, which is why calibration only masks it temporarily.
Hall effect sticks use magnets instead. A magnet is attached to the stick shaft, and a sensor reads its position without any physical contact. There's nothing to wear down. The stick can last the life of the controller without developing drift.
The tradeoff: hall effect controllers used to be expensive or niche. In 2025–2026 that changed significantly. Controllers like the GameSir G7 SE sit at the same price as mid-range traditional controllers and include hall effect sticks as standard.
Recommended controllers — by platform
All recommendations below use hall effect sticks. Affiliate links — commission supports the free tester tool. Prices approximate.
PC / Windows
 Best overall
 Alternative pick
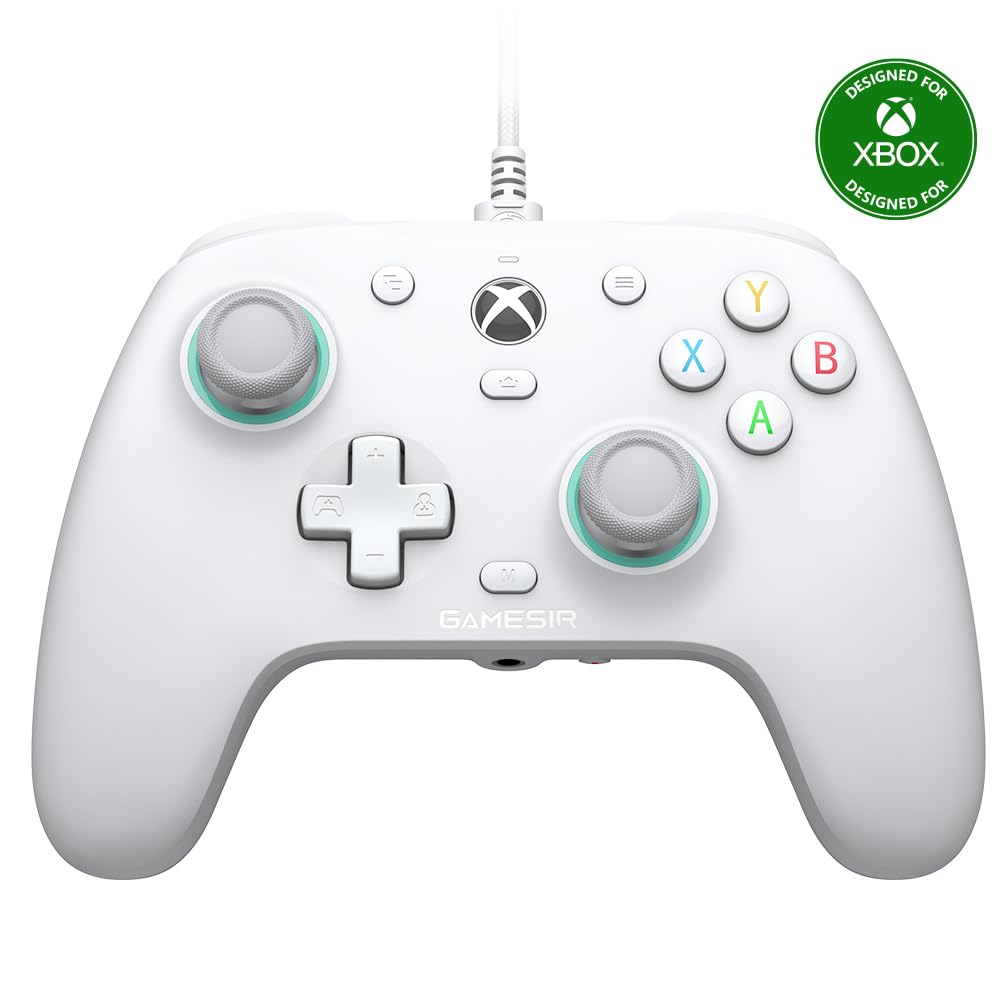
Xbox
 Best overall
PS5
 Premium
Frequently asked questions
The free drift test shows you whether the repair worked — in real time, using your controller's actual input data. No guessing.
Run the drift test now →